What gear do you need to add virtual tours to your real estate photography kit?
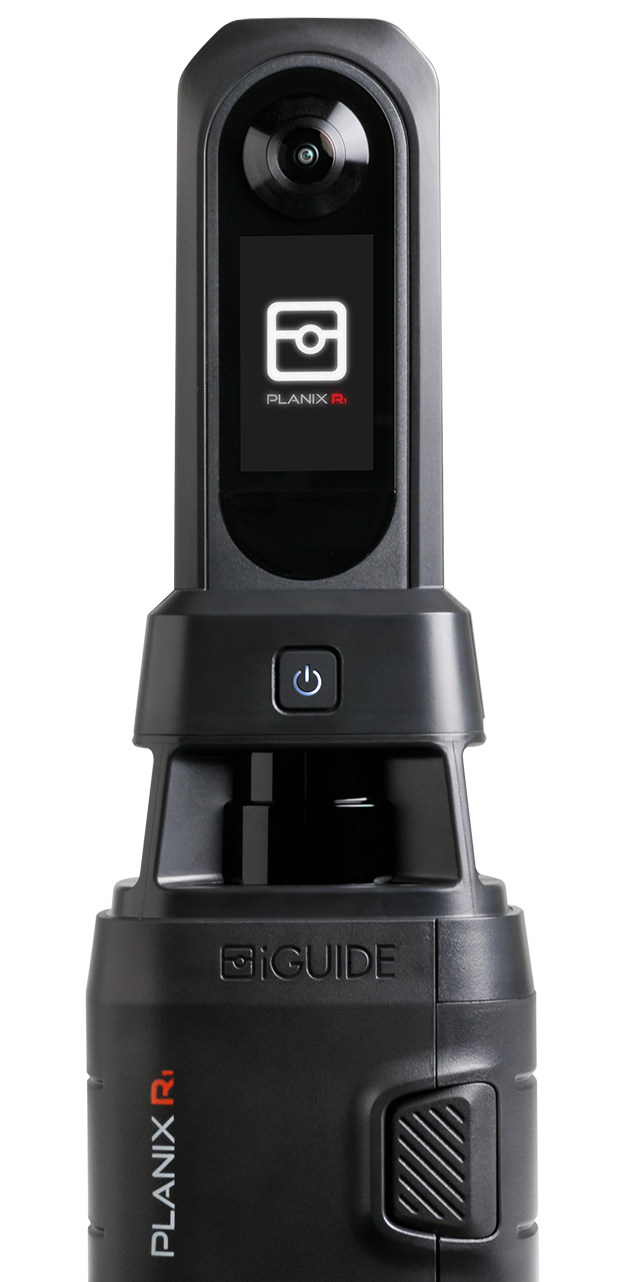
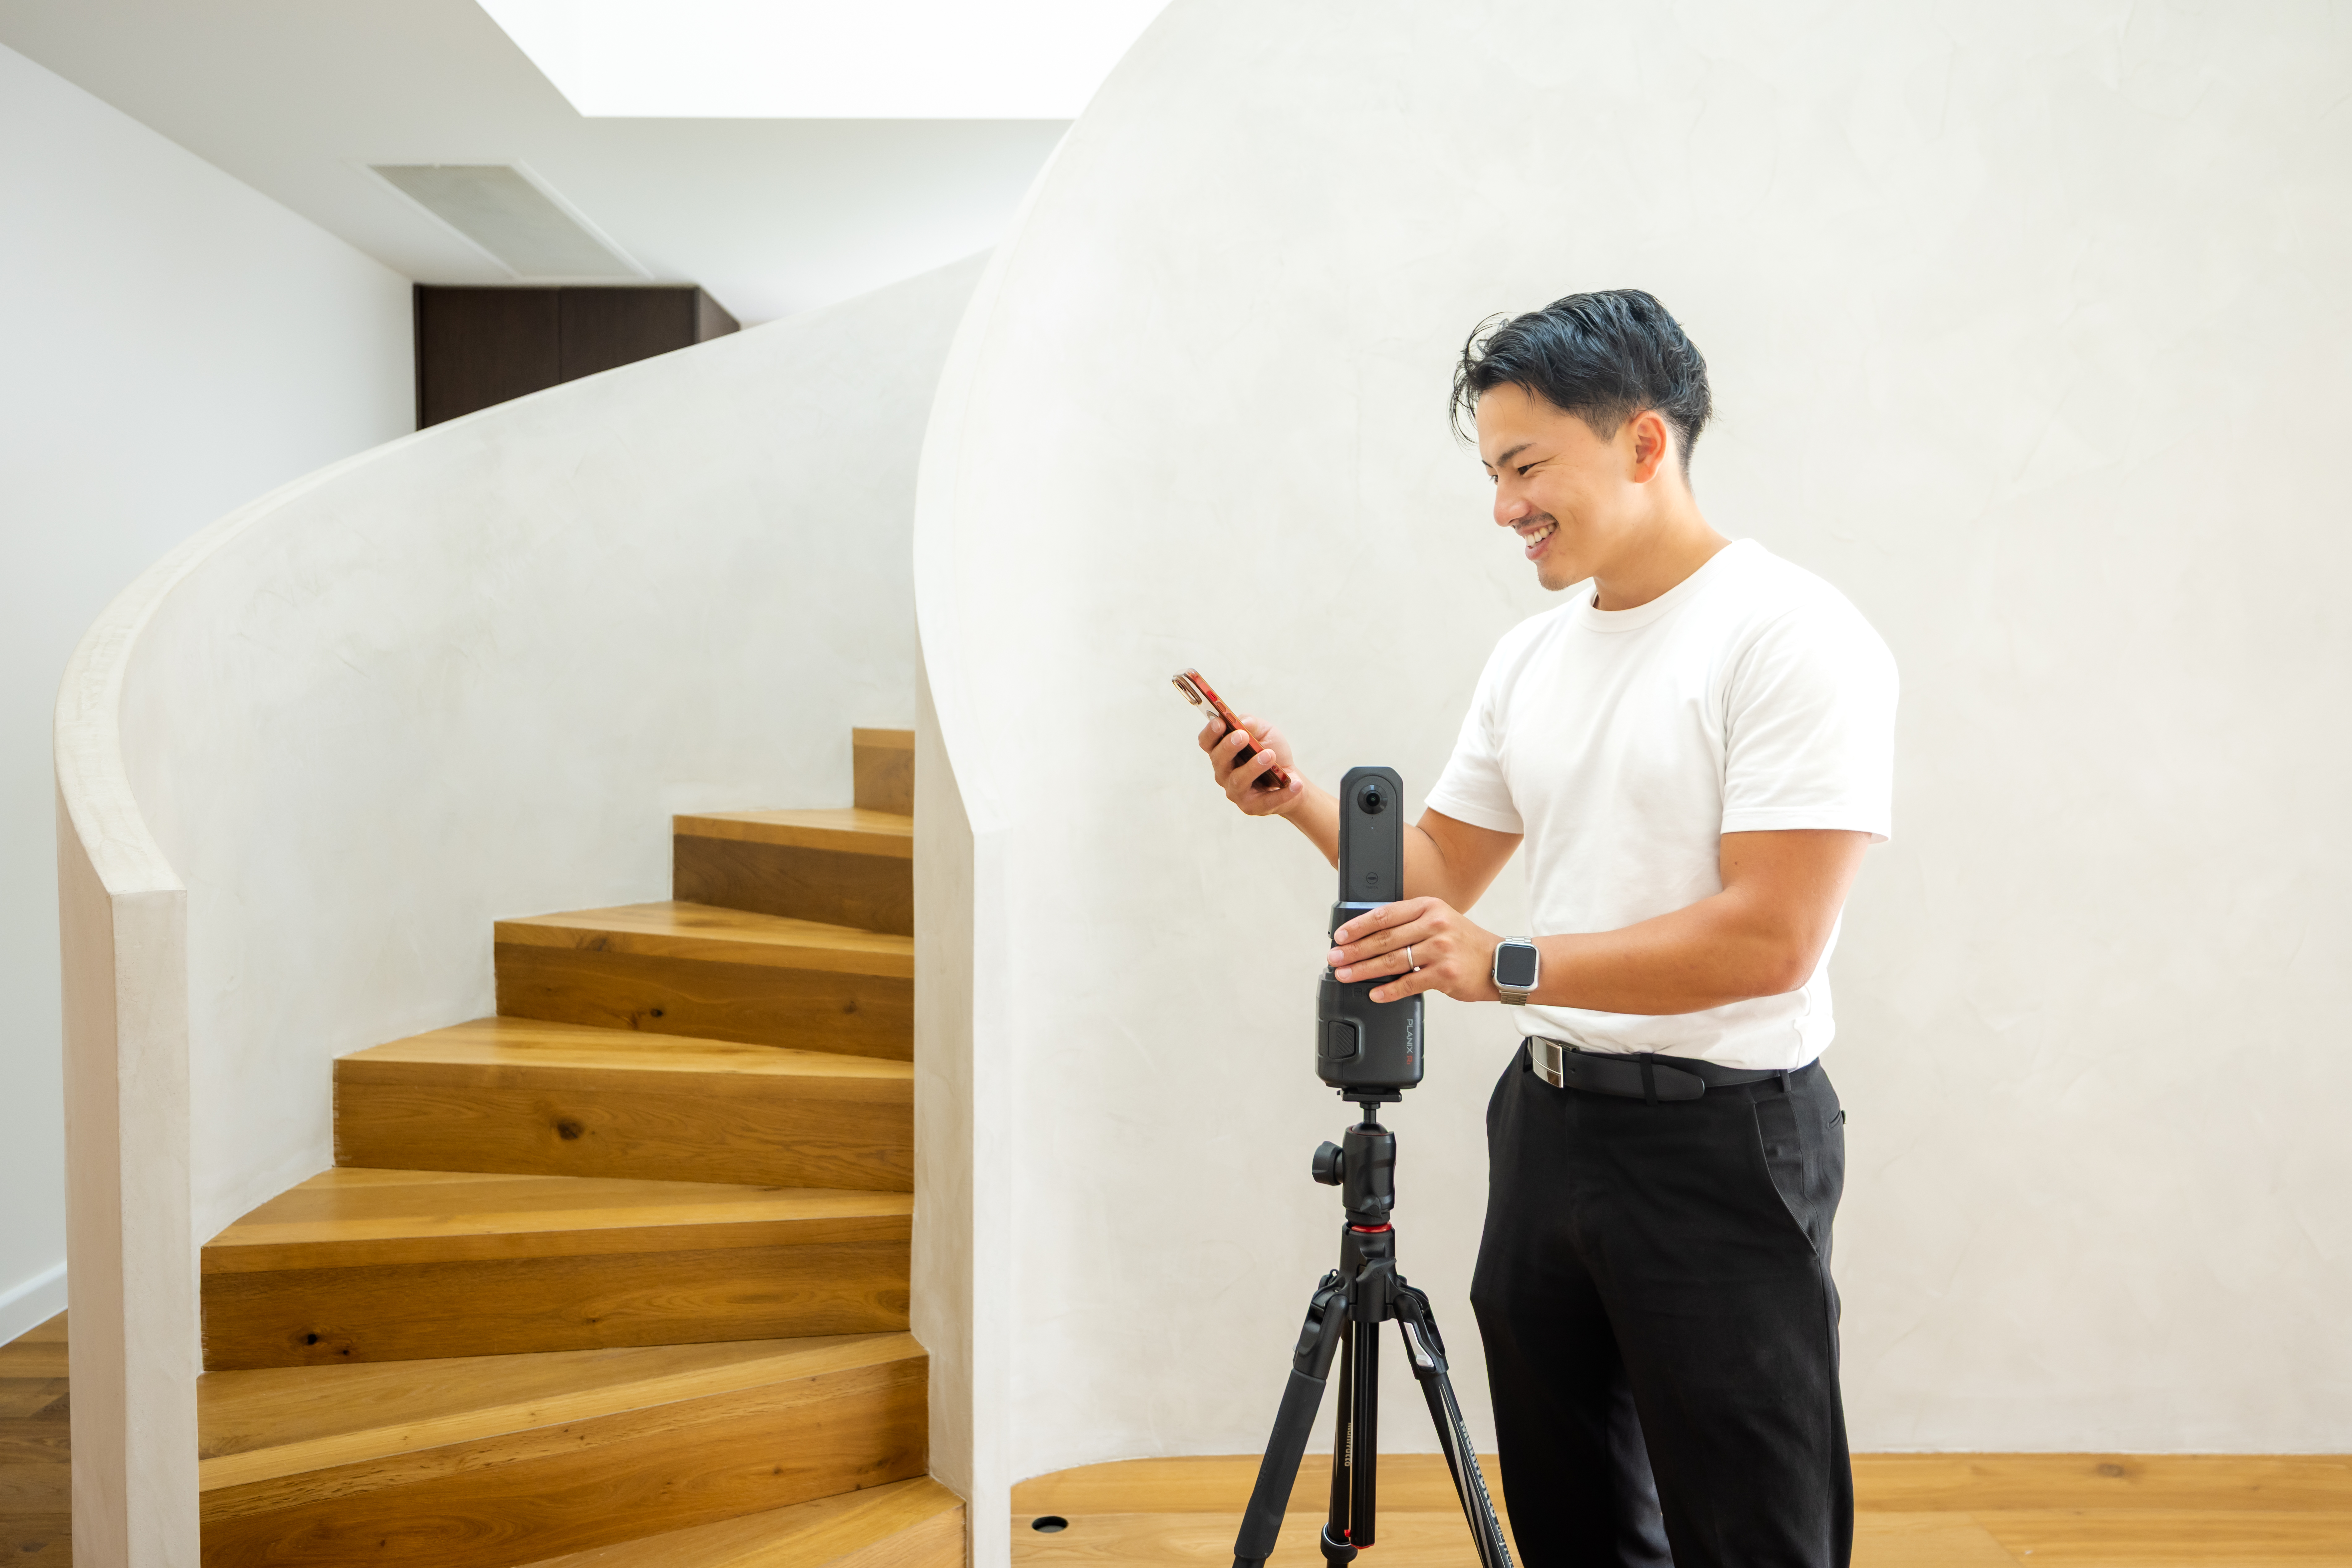
The gear fits in a bag you already carry. The PLANIX R1 camera mounts to a standard tripod, connects to your phone through the PLANIX App on iOS or Android—no Wi-Fi or cellular needed on site. There is no new software subscription to manage, no extra laptop to carry and no separate provider to brief.
Setup before your first job takes minutes. After that, it’s just part of the kit.
The only thing worth doing the night before: confirm the app is connected and your project is created. That’s it. Your existing shoot day does not change.
Minute 0–3: arrive, walk the property and set up
You pull up, walk through the property once and plan your route. This is the initial site walkthrough, and it takes about two to three minutes.
You are looking for a few things: the front door (that is where you will start), any tight spaces where you may need to adjust tripod height, and clutter that could interfere with the lidar read. Move anything blocking walls or tight spaces so the scan has a clear view.
Set your tripod to 4.5 ft (130–140 cm) from the floor. That is your working height for the whole job. You will only deviate from it briefly to clear an obstacle, and you'll return to it immediately after.
Open the app, name your project and you're ready to scan.
Minute 4–12: scan the interior and exterior
This is where bulk of the time is spent, and it moves quickly.
Minute 4. Start at the front door. Beginning here creates a smoother transition between inside and outside and helps the property map correctly.
Minutes 5–11. Scan room by room, maintaining line of sight between each scan position. Every shot needs to be visible from the previous one. That is the rule that keeps the floor plan accurate. For each room, scan at the doorway and then once in the middle. For cupboards, capture one shot with the door closed and one with it open.
The open shot can be hidden from the final tour if needed, but it helps the drafting team get the walls right. In a larger open-plan space, a simple zig-zag pattern, scanning 3–5 metres apart, covers the ground without unnecessary extra positions.
Minute 12. Exterior. Stay 3–5 metres from the outer walls and take tighter shots. The lidar has fewer surfaces to register outdoors, so proximity matters more here than inside.
A typical Australian home at around 25–30 scan positions takes roughly 15 minutes to capture. Larger properties take longer, but the workflow stays the same.
Minute 13–15: review and upload
Walk to the front, do a quick scan review in the Survey view on the app. You can see where the lidar read the walls. If a room looks thin or a wall did not register, you have time to go back and add a position. Most jobs don't require this.
When you're satisfied, hit upload. The PLANIX connects via your phone's internet connection and sends the data to the iGUIDE portal. You can be back in your car and moving to the next job before the upload finishes.
That is the capture. Fifteen minutes, one workflow.
What deliverables do you get from one iGUIDE capture?
Once the data is uploaded, iGUIDE's processing team takes over. Your completed iGUIDE virtual tour package comes back within the standard turnaround window, which includes:
- A published 3D virtual tour with navigable walkthrough
- Accurate floor plans for every level, measured to 0.5 percent or less typical distance measurement uncertainty
- A Site Plan showing the property footprint (available as an add-on)
Everything comes back in a single iGUIDE report. One link. No assembling deliverables from separate inboxes.
One scan, three deliverables: expanding your offering without extra complexity
Most photographers who add 3D virtual tours to their real estate photography workflow say the capture itself is the easy part. The learning curve is short. The gear is compact. And the deliverables do something a standard photo set cannot: they give buyers a measurable, navigable understanding of the space before they step inside.
One capture. One upload. Three deliverables your clients can actually use. As immersive property listings become more common in Australia, photographers who can deliver a complete listing experience are better positioned to grow with their clients.
See how photographers are expanding their offering without changing how they work. Or, if you want to see the workflow firsthand, book a demo and we will walk you through it.
Author

Julia Griesbach
Customer Solution Engineer
Julia Griesbach is a Customer Solutions Engineer at Planitar, an REA Group company. She works one-on-one with new and prospective customers across Australia, helping each one understand how iGUIDE fits their workflow before and after they get started.