If your iGUIDE project needs elevation data, you need vertical scans
Most iGUIDE projects don't require vertical scans. A floor plan, a DWG, even a Revit model for a standard residential interior can often be built from horizontal scans alone. But some deliverables depend on elevation data, and if that data isn't captured on site, your drafting team can't invent it.
What vertical scans capture that horizontal scans don't
A standard horizontal scan captures the floor plane. The LIDAR sweeps the room at camera height, reads walls, fixtures and openings and builds the dimensional data your floor plan is drafted from.
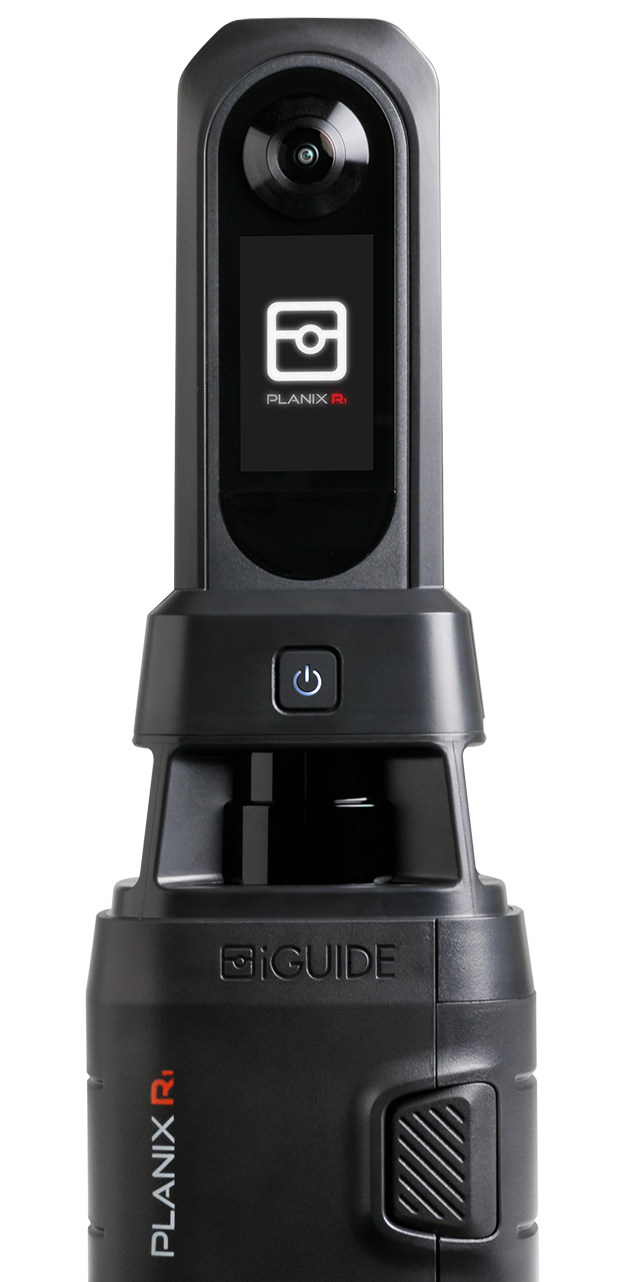
A vertical scan captures a building slice. You rotate the PLANIX camera 90 degrees so the LIDAR sweeps ceiling to floor instead. That gives your drafting team a cross-section of the space: ceiling heights, floor levels, roof pitch and anything else that exists on the vertical axis.
CAD deliverables that require vertical scans
Revit models, exterior elevations and complex ceiling documentation all require vertical scans. If your project involves any of these, your scan plan needs to account for it before you get on site.
Revit models
A Revit model needs room heights, floor-to-floor dimensions and accurate ceiling conditions to build correctly. Without vertical scans, those values get estimated. Estimated heights create problems downstream, especially when you're doing anything with sections, schedules or structural coordination.
Exterior elevations
To draft an exterior elevation accurately, your team needs the height of each floor, window placement on the Z-axis, roof pitch and the relationship between grade and finished floor. None of that comes from a horizontal scan. Exterior vertical scans, captured from outside the building, give your team the data they need to produce a buildable elevation drawing.
Staircases and level changes
Stairs are a vertical element. Capturing a stair run from a horizontal scan gives you the footprint. It doesn't give you rise, run or the headroom clearance above.
Spaces with complex ceiling conditions
Open structure, vaulted ceilings, bulkheads, soffits, pendant lighting at height—these features exist on the vertical axis. For a basic RCP, you can often place ceiling elements from horizontal scan data alone, especially in typical residential settings where the scale is tight and everything is visible. But in larger or more complex spaces, it gets harder to place pendant fixtures or exposed joists within a couple of inches just from wall measurements.
A vertical scan that hits those elements directly gives your drafting team accurate placement data without guesswork.
Not sure which deliverables are right for your project? See the full iGUIDE CAD deliverables range.
When you don't need vertical scans
Floor plans and DWGs for standard interior documentation projects don't require vertical scans. If you're capturing an existing residential floor plate for space planning, a renovation estimate or basic consultant coordination, horizontal scans are enough.
The same applies to most interior-only commercial documentation where ceiling conditions are simple and elevation data isn't part of the deliverable scope.
The guiding question is: does your deliverable need to show anything on the Z-axis? If yes, add vertical scans. If no, you probably don't need them.
5 capture tips for better vertical scans
1. Keep camera orientation consistent throughout the pass
When capturing vertical scans, the PLANIX sits on its side. Pick a direction (always facing east, for example) and hold it through the entire pass. If you flip the camera orientation mid-capture, the LIDAR data flips too and won't align cleanly in Stitch. One direction. Every scan in that pass.
2. Capture in a straight line
Vertical scans work best as a building slice. Set up your pass to run front to back or side to side, and stick to the line. You can see straight through doorways as you go, which means a single pass can capture multiple rooms worth of elevation data. That's what gives you the full cross-section of the building in one organized file.
3. Don't skip the stairs
Staircases show up in vertical scans the same way sections do in architectural drawings. You can get rise, run, headroom and landing heights from a well-placed vertical scan at the stair location. Think of it as cutting a section with your LIDAR.
4. Capture complex ceiling features before you leave the site
Vaulted ceilings, exposed joists, pendant fixtures, deep soffits—if these are in the space and your deliverable needs to show them, capture them while you're there. A vertical scan that interacts with those features gives your drafting team specific placement and height data. It's the difference between accurately positioned ceiling elements and approximate ones.
In bigger rooms, it gets harder to place pendant fixtures or exposed joists within a couple of inches from wall measurements alone.
If you have a high ceiling and pendant lighting or things that are hanging from the ceiling, if you do a vertical scan, it actually interacts with all of those things, and then our drafting team can accurately place them. — Brad Fackoury, Director of Customer Experience, iGUIDE
5. Think about the deliverable before you set up the scan
What your drafting team can produce depends directly on what data you capture. Before you start, know what deliverables are being ordered and what information each one requires. If you're capturing for a Revit model with exterior elevations, your scan plan looks different than if you're only producing a floor plan. Capture for the downstream use, not just for what's in front of you.
See it in practice These two videos show vertical scanning in action:
Common vertical scan mistakes and how to avoid them
Skipping the exterior
If you're inside doing vertical scans for ceiling heights but you don't go outside to capture the building face, your elevation drawings will be missing data. Exterior vertical scans need to happen outside, usually along each facade.
Missing staircases
It's easy to get to the top floor and forget to go back and capture the stair run.
Inconsistent camera orientation
One flipped scan in the middle of a vertical pass creates alignment problems in Stitch that are time-consuming to untangle. Keep the orientation consistent.
Disorganized vertical scan data
If all your vertical scans land on the same spot in Stitch, the file looks like a spider nest and your drafting team has to spend time sorting it out. Organize scans as you go—either by floor or by keeping each scan spaced out in the viewer. Clean data in, clean deliverable out.
Capture for the deliverable, not just the space
Before you leave the site:
- Exterior elevations captured (all required facades)
- Staircases captured
- Complex ceiling conditions captured (vaults, joists, pendants, soffits)
- Camera orientation held consistent across each vertical pass
- Vertical scan data organized in Stitch
Planning a project and not sure which deliverables you need? Read 5 questions to answer before ordering CAD deliverables.
Want to go deeper? These two webinars walk through the full CAD deliverable workflow:
Author

Jennee Rasavong
Content Marketing Manager
Jennee is the Content Marketing Manager at Planitar, makers of iGUIDE, where she creates clear, practical content grounded in real customer workflows. Her work focuses on blogs, customer stories, and guides that help make complex tools easier to understand.