iGUIDE Photos Instructions
iGUIDE Photos is a platform used to host and share images, video, text, and a neighborhood map. The following step by step instructions are meant to tell you exactly how to create, send, and edit iGUIDE photos. Check the FAQ at the bottom of the page for a more detailed explanation.
Create iGUIDE Photos:

- Log into the iGUIDE User Portal
- Click +Create iGUIDE on the menu bar
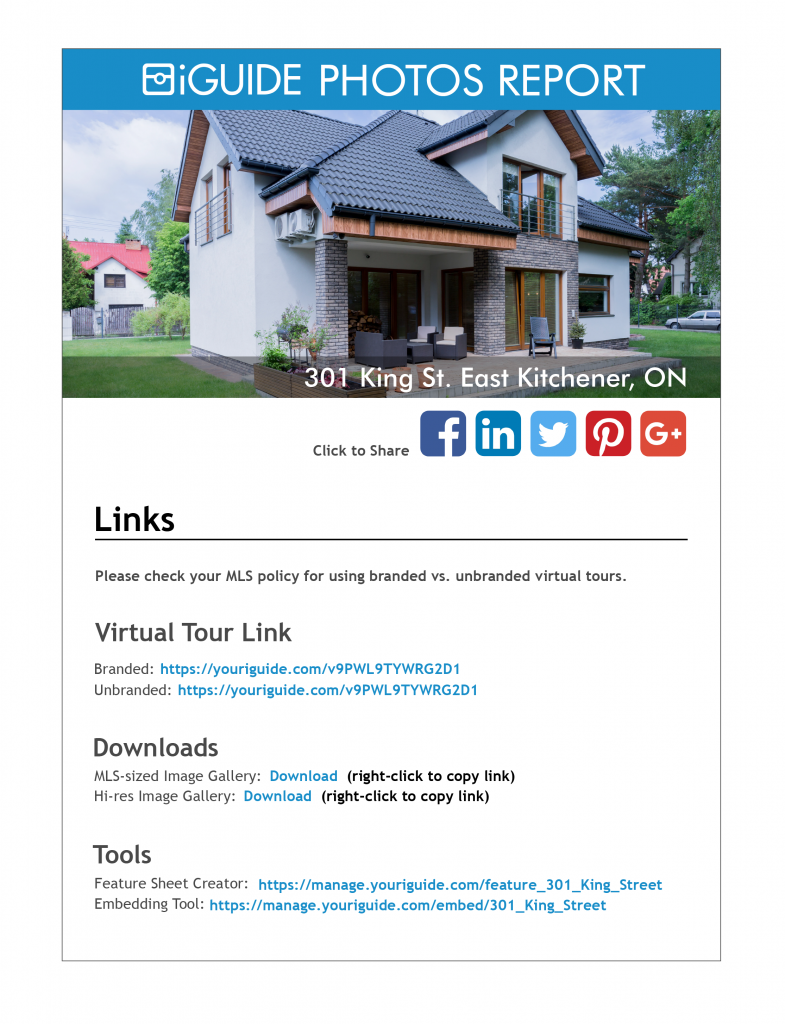
- Select Photos from the Package menu
- Enter the property address
- Add branding
- Choose who will receive the iGUIDE
- Select images for upload
- Click the Create iGUIDE button
Send iGUIDE Photos Report:

- Log into the iGUIDE User Portal
- Find the property on the myiGUIDEs page
- Click the blue Edit button
- Click the iGUIDE Edit View Report button
- Click the blue Send button
Edit iGUIDE Photos:

- Log into the iGUIDE User Portal
- Find the property on the myiGUIDEs page
- Click the blue Edit button
- Make required changes to the Edit page
- Click the Save button
IMPORTANT NOTE: Remember to refresh your browser to see changes.
FAQ
iGUIDE Photos is a platform used to share images and other information online. It uses the same technology as the iGUIDE, iGUIDE User Portal, and iGUIDE Report and Analytics. It is a fast and easy way to deliver photos and also includes many of the features of the iGUIDE.
When the link to the tour is loaded, the first image in the gallery will be displayed with a title overtop for several seconds before transitioning to the photo slideshow. Clicking on the splash screen image will also trigger the transition. Photos and other media can then be viewed when individually clicked on.
Yes. The link to the embedding tool will be available in the iGUIDE Photos Report.
Title
The title identifies the property and is usually the address. It will be displayed on the splash screen for a few seconds, as well as at the top of the screen when viewing the tour. The title will also be used to identify the property when sharing to social media.
Expiration Date
This date will be set for one year upon creation and it represents the date upon which the tour will expire (be turned off). This can be extended beyond one year for a fee.
Start Options
This drop down menu includes options for what will appear first after the splash screen. The system default is Slideshow. The following options are available:
- Photos: Slideshow – Images will appear one at a time with thumbnails below.
- Photos: Grid – Images will appear on one scrollable screen in a grid, with rows and columns determined by screen proportions and resolution.
- Video – A video will load and must be clicked to play.
- Video: Autoplay – A video will load and will play automatically.
- Video: Autoplay > Photos: Grid – A video will load and will play automatically. When the video is finished the tour will transition to the photos in a grid.
- Video: Autoplay > Photos: Slideshow – A video will load and will play automatically. When the video is finished the tour will transition to the photos in a slideshow.
Embedded Video Link
Link for the video to be shown in the Video tab.
Supported video services:
- YouTube
- Vimeo
- iPlayerHD
Supported file hosts:
- Google Drive
- OneDrive
- Dropbox
Property Description
Add a text description of the property. This will appear on the Details tab as well as on social media posts. This area is not HTML compatible.
Options
Hide Map (Always)
Hide the map tab on the branded and unbranded versions of the tour.
Hide Map (Unbranded only)
Hide the map tab on the unbranded version of the tour.
Hide Video (Unbranded only)
Hide the Video tab on the unbranded version of the tour.
Force Branded iGUIDE Only
Force the branded version of the tour to appear, regardless of the URL that is loaded.
Hide Title From Splash Screen
Hide the title when the splash screen is loaded. This is useful when creating custom splash screens that already have a title.
